
Top 5 Braided Hairstyles for Bridesmaids

Top 5 Braided Hairstyles for
Bridesmaids
Being a bridesmaid is always a beautiful moment, and getting to be a key part of the special day of your loved one is a wonderful honour. The dresses have been chosen, the shoes are dancefloor-ready, and the flower arrangements have been in the works since she said yes; but what about hair?
Keep ReadingThe bridesmaid's hair can make or break the aesthetic and looks of the entire bridal party, but you need to make sure that you opt for a style that can last all night, looking incredibly chic without sacrificing comfort. Braided styles can be the way to go, so let's have a look at our Top 5 Braided Hairstyles for Bridesmaids.
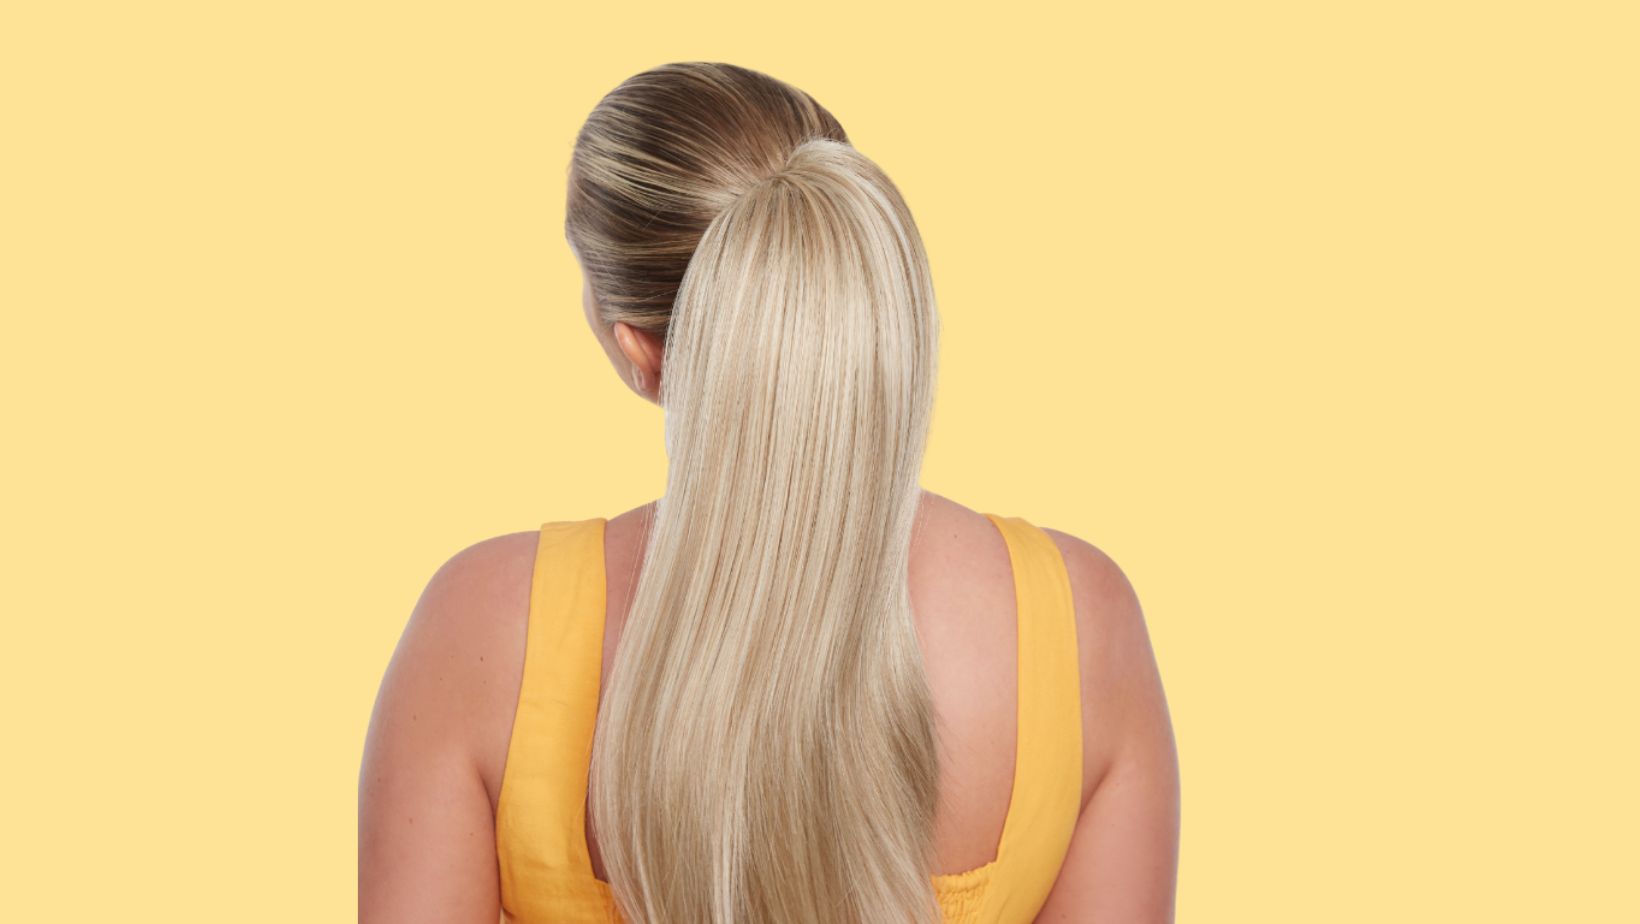
- Fishtail Braid Ponytail
- Waterfall Braid
- Braided Bun
- Braided Chignon
- Milkmaid Braids
- Accessorising Your Bridesmaid Braid
- Using Hair Extensions in Your Bridesmaid Hair
Fishtail Braid Ponytai
The fishtail braid pony can be worn in several ways depending on your desired look; sleek or undone, high or mid-height. It can be an effortlessly isn't as complicated as it might seem.

Image from Missy Sue
- Brush your hair back and up into a ponytail, and secure it with a hair tie.
- Divide your ponytail into two sections.
- Take a piece of hair from the back of one section, and cross it over to the front of the other section.
- Repeat this process, alternating sides each time you cross the hair over until you reach the end of your ponytail.
- Secure this with a hair tie, preferably a clear elastic.
Waterfall Braid
The waterfall braid is a great hairstyle that can bring some boho flair to your wedding look. It's a simple detail that can make a big difference. More intricate braids like this one can be intimidating on the surface, so here's the step-by-step guide to achieve the perfect waterfall braid.

Image from @annies_hairstyles on Instagram
- Create a deep side part
- Take a 1-inch section from the front of your head (where your bangs would lie)
- Working backwards, begin to braid this section
- As you continue the braid backwards, start adding more pieces into the braid as you would with a French braid.
- As you complete each crossing of the braid, drop the right section before picking up another small piece of hair.
- Continue this process until you reach the back of your ear, or wherever you'd like this braid to go.
- Secure this with a hair tie or some bobby pins.
Braided Bun

Image from The Hair Look on YouTube
You can't go wrong with a bun. The braided bun can be incredibly sleek and chic to look at, and simple to achieve. The braids are a great way to add something special to the traditional bun hairstyle.
- Brush your hair up and back into a ponytail and secure it with a hair tie.
- Tease the base of your pony to add some extra volume.
- Split the ponytail into two even sections.
- Style each section into a simple three-strand braid and secure each one with a small, clear hair tie.
- Wrap each braid around the base of your ponytail to form a bun, pinning it in place.
Braided Chignon
The chignon is a classic hairstyle. While the traditional chignon can be incredibly chic and elegant, adding a simple braid to this style can bring a little bit more oomph, without over-complicating it.

Image from Hair Angels on YouTube
- Section out a chunk of hair from behind your hair and clip this out of the way.
- Gather the remaining hair into a low ponytail and secure it with a hair tie.
- Gently loosen the ponytail, creating space above the hair tie and making a hole there.
- Pull your ponytail up and through the hole
- Back-comb the underneath of your ponytail, while taking time to ensure that the top layer remains smooth.
- Secure this with a hair tie a few inches from the ends of your hair, and roll them underneath the backcombed section to create a smooth, rounded chignon. Pin this into place.
- Take the first section you separated and style this into a simple three-strand braid.
- Gently pinch and pull the sides of the braid to make it appear fuller.
- Take the braid up and over the chignon and pin it into place, tucking the ends out of sight.
- Secure all of this with a healthy spritz of hairspray.
Milkmaid Braids
The Milkmaid Braid (or Crown Braid) is a timeless look that never fails to bring an elegant flair to any look, and it's not as hard to recreate as you might think.

Image from Alex Gaboury on YouTube
- Split your hair into two sections, taking the hair from the back of your head (from the top of your crown to the nape of your neck, and separating it from the front and sides)
- Secure this back section, ensuring it is smooth first, by pinning it into place with bobby pins.
- Then, on one side of your head, take a one-inch section of hair from your parting, split it into three and begin to braid.
- As you continue to braid down and back, take small pieces of hair and add them to each strand of your braid.
- Once you reach the back section of your hair, begin to incorporate half of this into your braid, until you reach the ends of your hair.
- Secure this with a hair tie, and then move on to the other side of your head.
- Repeat the braiding process on the other side of your head, working backwards to the ends of your hair once again.
- Once both sides are braided, remove the pins you used to secure the back section and prepare to wrap your braids around the head.
- Open up the right braid near the nape of your neck in the middle, by parting the crossed sections.
- Thread the left braid through, and pull both braids up around your head, creating a crown.
- Use bobby pins to pin this into place, taking time to tuck the ends of your hair out of sight.
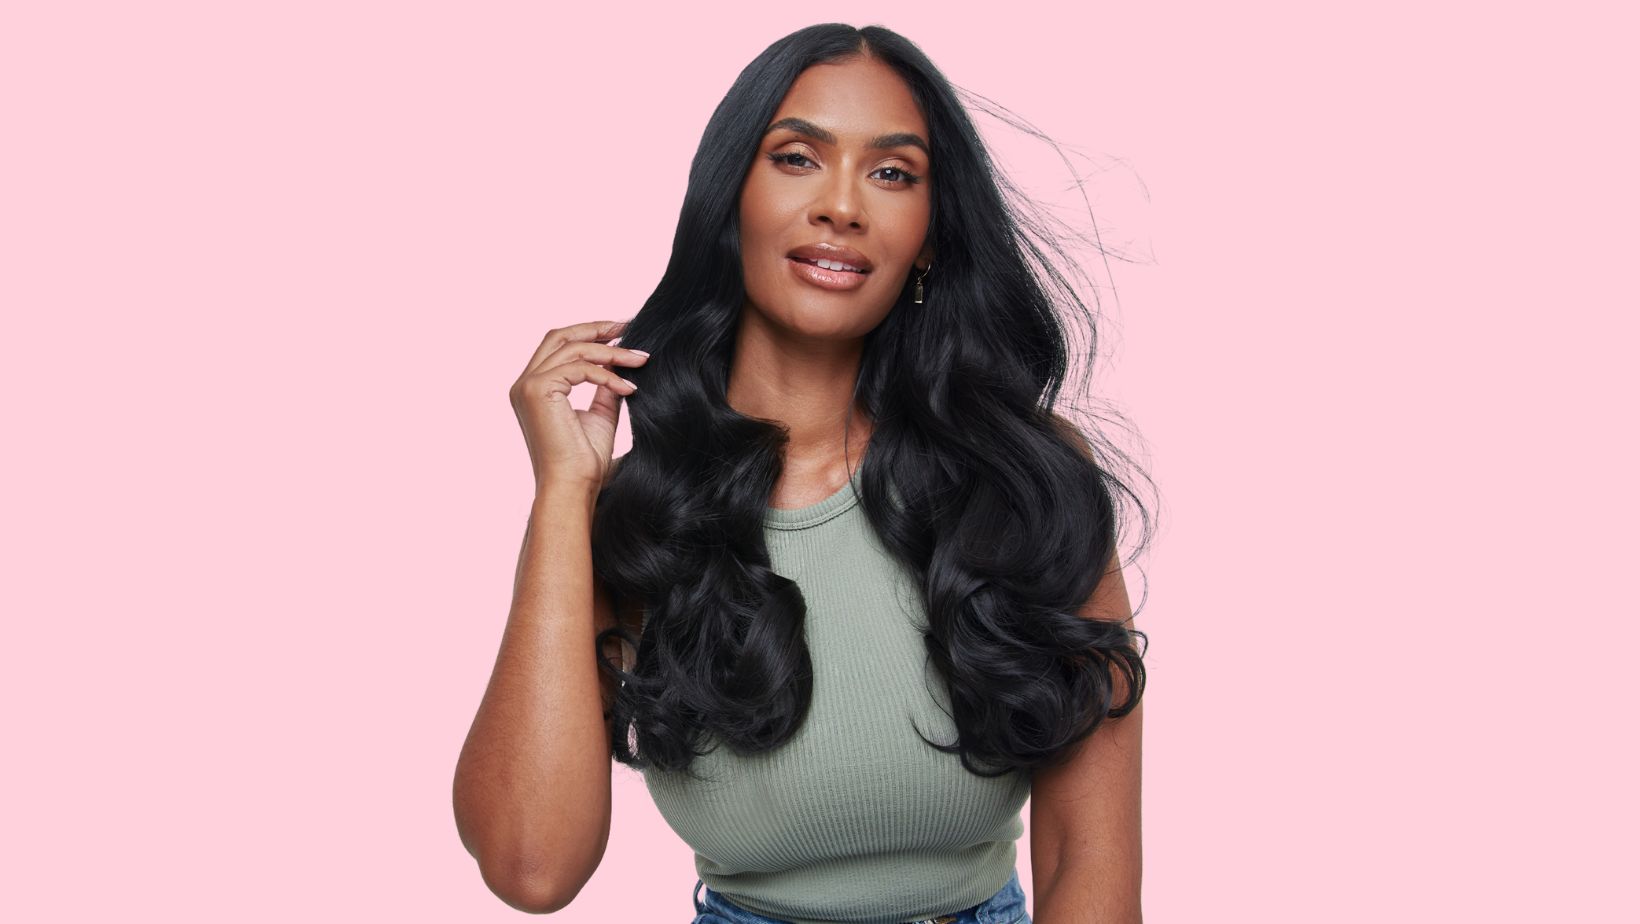
TOP TIP: Braided hairstyles can look particularly effortless or romantic with some soft waves or loose tendrils left out to add some extra texture and dimension.
Accessorising Your Bridesmaid Braid
Want to bring a little more personality to one of these styles? Incorporating appropriate accessories into one of these braids is a great way to add an extra little bit of flair.
Depending on your desired look and the aesthetic your bride is hoping for, delicate flowers, embellished French pins, comb clips, and fascinators can all be great choices when accessorising your wedding hair look.
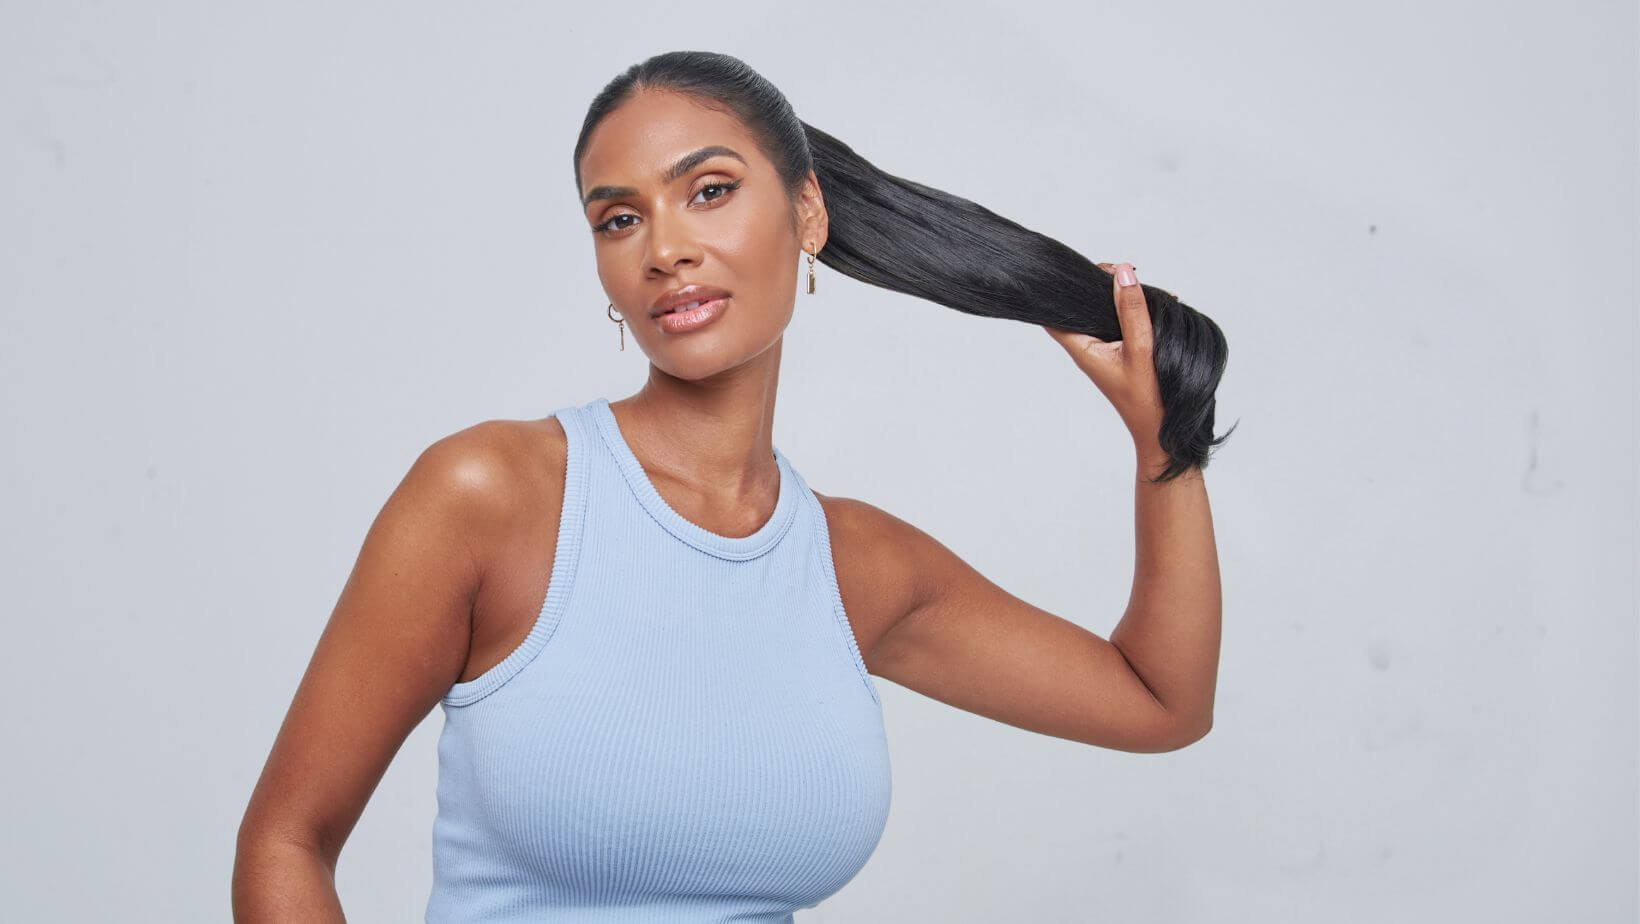
Using Hair Extensions in Your Bridesmaid Hair
Want to try a bridesmaid braid but worried that you don't have the length, volume, or thickness to pull it off? Why not consider using some hair extensions to bring a bit more oomph to your updo?
At Stranded, we have a range of products that would lend themselves well to any of our top five looks. For example, our Human Hair Seamless Set is a great choice if you're opting for a Waterfall Braid or the Milkmaid Braids as it can blend incredibly well with your natural hair, without a visible track. For styles like the Braided Bun or Fishtail Braid Ponytail, our Body Wave Ponytail is a good choice as it already has some texture and a lot of volume so you can create the braided updo of your dreams, with less effort!
So, there we have it. Five beautiful braided looks, which would make the perfect bridesmaid hairstyle. These braids make for incredibly romantic hairstyles, which would be fitting for any bridal party. They're easy to achieve and will be bound to leave an impression, so all that's left now is to choose which one you think would be your perfect wedding look.
Found this helpful?
Why not check out some of our other articles? Or if you're a more visual learner, why not look at some of our handy How-To Videos?