
Step-By-Step Guide: How To Put In Clip In Hair Extensions

Step-By-Step Guide: How To Put In Clip In Hair Extensions
There are several advantages and benefits to using clip-in hair extensions, which is why they have become such a popular choice among women. One of the main reasons is their versatility. With clip-in extensions, you have the freedom to change your hairstyle whenever you want.
Keep ReadingUnlock the secrets to luscious locks in minutes with our foolproof guide to clip-in hair extensions! Say goodbye to expensive salon visits and hello to hair goals achieved in the comfort of your own home. Don't be intimidated, we'll show you how to confidently apply, remove, and style your clip-in extensions like a pro. Get ready to turn heads with your fabulous mane!
Here at Stranded, we’re dedicated to all things extensions and customers, believing good hair days should be every day. From one-pieces to ponytails, human to synthetic, we’re the best when it comes to clip-in hair extensions. We're your hair extension experts, in this article, we aim to fully explain how to fit clip-in human hair extensions.
- Explained: What are clip-in hair extensions?
- Why Use Clip-in Hair Extensions?
- What Are the Best Types of Clip-in Extensions?
- Preparation Before Attaching Clip-in Extensions
- Styling the Clip-In Hair Extensions Before Fitting
- How Do You Stop Your Clip-in Extensions From Falling Out
- How to Remove Clip-in Extensions
- How to Look After Clip-in Hair Extensions
- Shop Our Best Selling Clip in Hair Extensions
Explained: What Are Clip-in Hair Extensions?
Clip-in hair extensions are a popular solution for instantly adding length, volume, and thickness to your natural locks. These extensions are composed of wefts of hair that are attached to small clips. They can be easily applied and removed without the need for professional help, making them a convenient option for those who want to switch up their hairstyle without any permanent commitment. Clip-in hair extensions are available in various lengths, colours, and textures, allowing you to choose the perfect match for your hair.

Stranded Seamless Clip-in Human Hair set
Why Use Clip-in Hair Extensions?
There are several advantages and benefits to using clip-in hair extensions, which is why they have become such a popular choice among women. One of the main reasons is their versatility. With clip-in extensions, you have the freedom to change your hairstyle whenever you want.
Another benefit of clip-in hair extensions is their affordability. Unlike permanent hair extensions, which can be quite expensive, clip-ins are a more budget-friendly option. They are often made of human hair or synthetic fibres.
One of the best things about clip-ins is that they are non-damaging to your natural hair. Unlike other types of extensions that require glue, heat, or other damaging methods, clip-ins are designed to be gentle on your hair, and they give you the ability to freely care for your natural hair.
What Are the Best Types of Clip-in Extensions?
Here at Stranded, we offer a variety of clip-in extensions made of both real hair and synthetic hair. Today we are going to look at the fitting of our human hair extensions, if you are interested in how to clip in a synthetic one-piece click here.
Stranded Human Hair Extensions come in 2 different construction, Seamless Clip-ins and Lace Clip-Ins. Seamless Clip-Ins offer a seamless blend with your natural hair, making them virtually undetectable. They are perfect for those who want a more natural and discreet look and those with fine hair.
Lace Clip-ins allow the tracks to carry more weight so are great for those looking for bigger volume and length and those with thicker hair.

Preparation Before Attaching Clip-in Extensions
Before attaching clip-in hair extensions, it is important to properly prepare your natural hair to ensure a seamless blend and a secure grip. Start by washing your natural hair with a gentle shampoo to remove any product buildup and oils.
Choose your colour or get a colour match
Now, let's talk about hair colours. Stranded Clip-in human hair extensions come in a wide range of 33 shades to match your natural hair. It's important to select a shade that closely resembles your hair colour for a seamless blend. If you're unable to find an exact match or have any doubts we offer free expert colour-matching through a dedicated page on our website. We are proud to have a 99% accuracy rate with our colour-matching experts, Emma & Alex, and offer free returns and exchanges on all our products, should you not be happy with the result.
Gather Your Hair Extension Kit
To ensure a perfect blend with your natural locks and minimal application time, gather your hair extension kit before you begin the installation process. Here are the essential items you'll need:
- Tail comb: Use this comb to create clean partings and separate your hair into sections for easier application of the clip-in hair extensions.
- Wide-tooth comb: This comb will help detangle your hair, making it easier to work with during the installation process. Gently comb through your hair to remove any knots or tangles.
- Claw Clip: A good quality hair clip will allow you to keep your sectioned hair up and out of the area you are applying clip-in extensions.
- Heat Tools (optional): If you prefer straight hair or curly hair, you can use a hair straightener or curler to get the look before attaching the clip-in extensions.
- Smooth Finish Extension Brush: After attaching the clip-in hair extensions, use an extension brush to blend your natural hair with the extensions for a flawless finish.
- Mirror: You will need a mirror to securely attach the extensions and ensure proper placement of the clips. A dressing table mirror is perfect.
Styling the Clip-In Hair Extensions Before Fitting
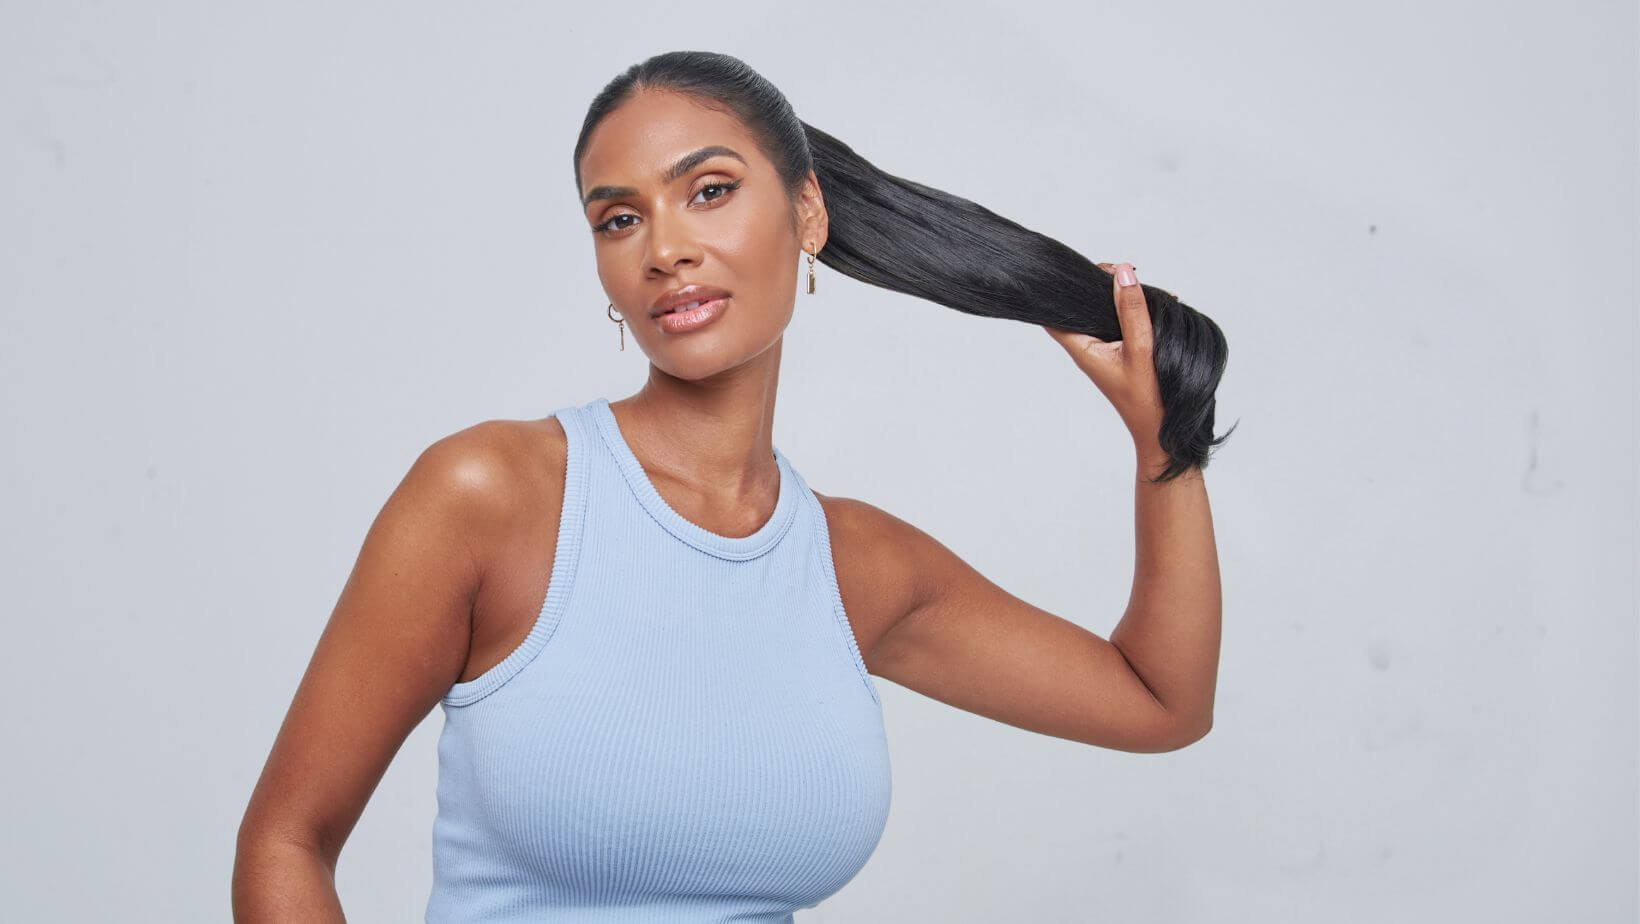
This step is crucial in ensuring that the extensions look and feel natural. You'll want your clip-ins to match the style of your natural hair. Although you can style both your hair and clip-ins at the same time. It's easier to style the human clip-in extensions out of your head and tweak the style after fitting.
You can style your extensions by holding the top with one hand and styling with the other or have a partner or friend hold them. We recommend using an Easi Weft Extension Holder so you can use both hands.
In this video, Jodie fits a human hair clip-in set.
Step 1:Section Your Natural Hair Low Down
Before attaching clip-in hair extensions, it's important to properly section your natural hair. This will ensure a secure grip and a perfect blend. Start by parting your hair horizontally from the nape of the neck. Use a tail comb to create a clean part. Then, clip up the top layer of your hair with hair clips or hairpins to keep it out of the way during the installation process.
Step 2: Begin with the Bottom Layer of Extensions First
Choose the correct extension from the set (This is usually the smaller section). Make sure the clips are open and facing upwards. Secure the clips in place by snapping them shut on your natural hair.
Step 3: Move Upwards and Repeat Step 2 Until You Reach your Crown Area
Now that you have successfully attached the clip-in extensions in the lower section of your hair, it's time to move upwards towards the crown area. Start by creating a new section of hair just above the first set of extensions. Use a tail comb to neatly section off a layer of hair. Take another weft of hair extensions and repeat Step 2: Open the clip-ins, position them close to the root of the hair section, and secure them in place by snapping the clips shut.
Step 4: Smooth Out Any Unruly Pieces and Blend the Extensions With Your Natural Hair
After clipping in all the wefts of hair, take a moment to examine your hair in the mirror to make sure none of the wefts are visible. Now gently brush your entire hair with an extension brush, Stranded Smooth Finish Extension Brushes are designed to not pull on the attachment. As you brush, make sure to avoid any rough movements that may cause tangling or damage to the hair.
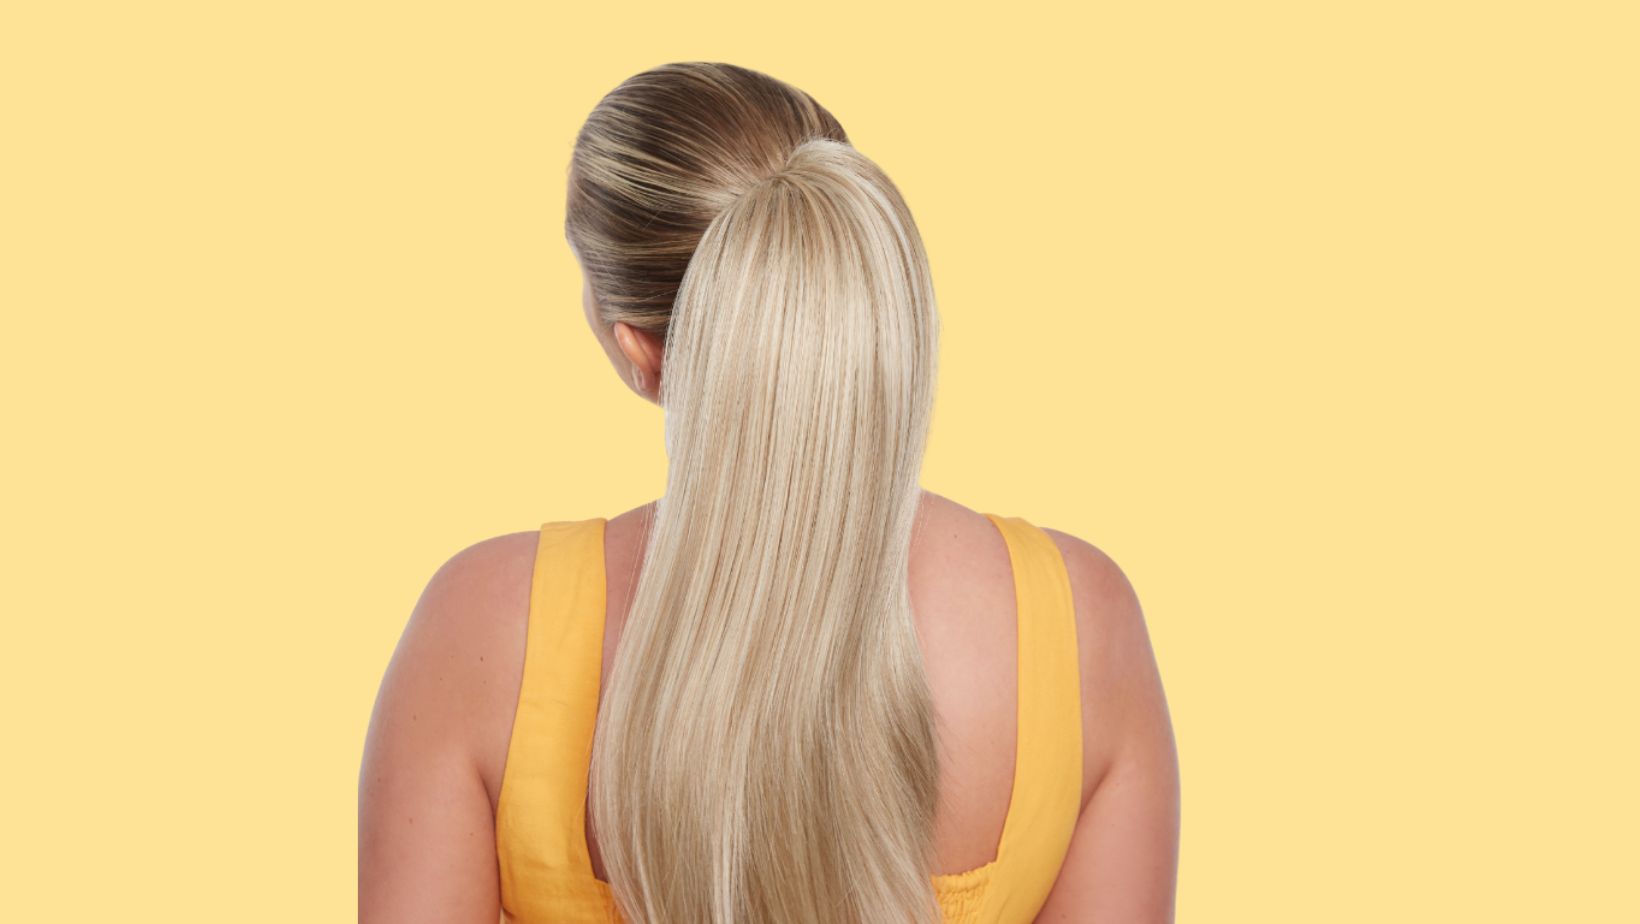
Step 5: How to style your clip in extensions
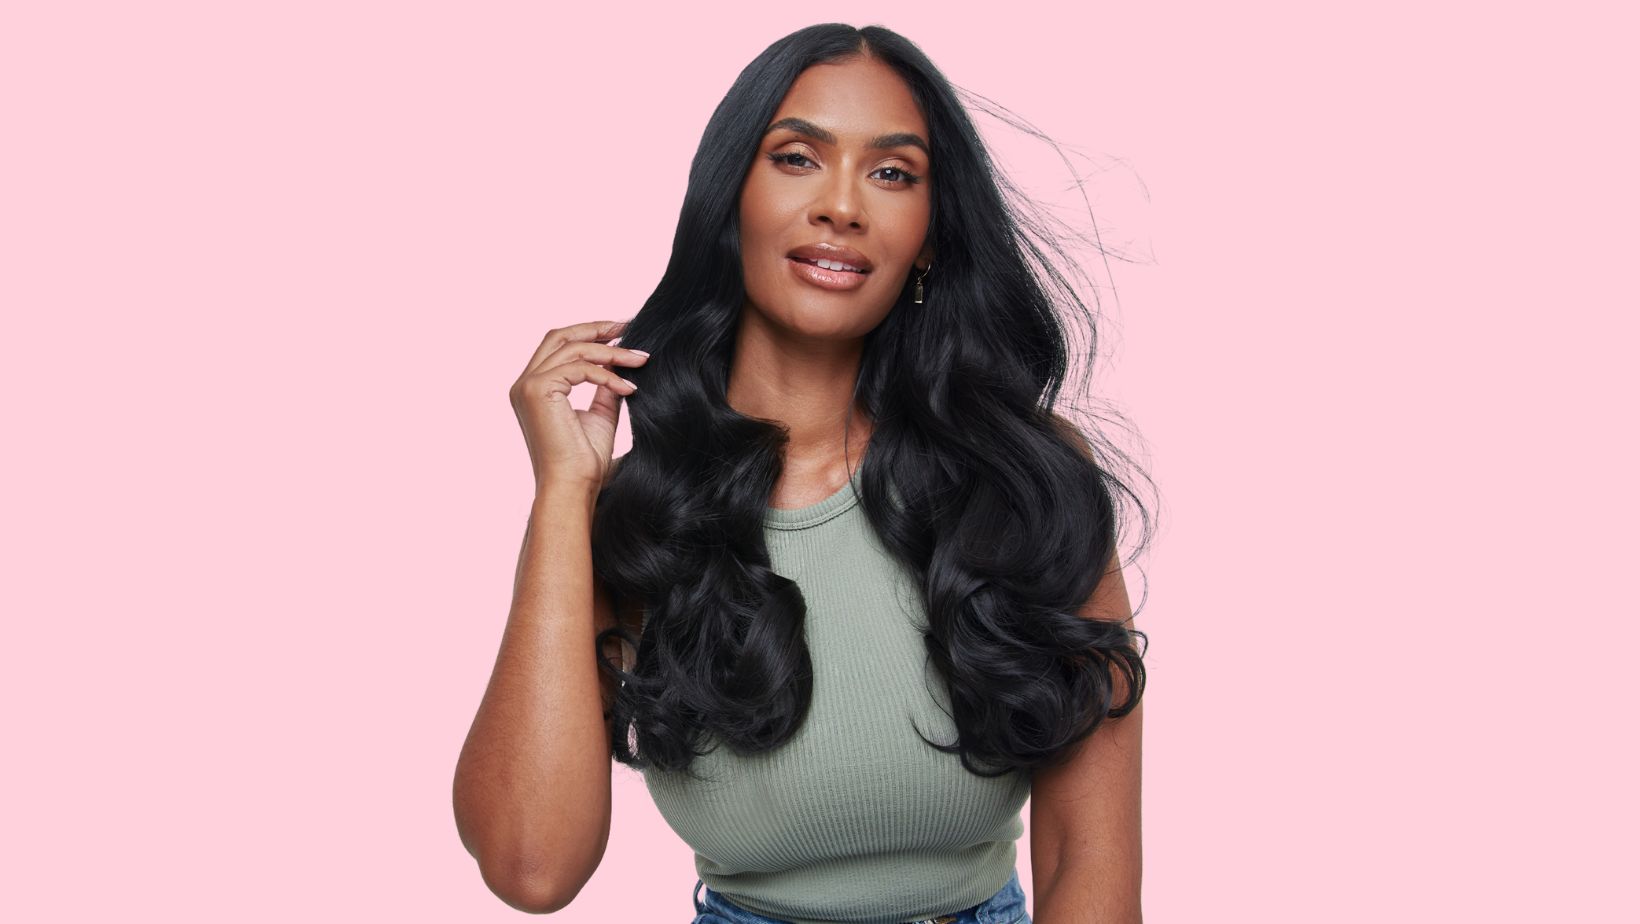
Achieve a variety of hairstyles with your human hair clip-in extensions. Experiment with different looks for voluminous locks, sleek straight styles, romantic curls, or barrel waves. The styling possibilities are endless.
Remember to use a heat protectant spray before applying any heat to the extensions. To curl your extensions, wrap small sections around a heated styling tool and hold for a few seconds before releasing. For a straight look, glide a straightener down the length of the extensions, starting from the top. The key to styling is to be gentle and avoid tugging or pulling on the extensions. Remember to use gentle movements and avoid applying too much heat to the hair.
Top tip: If your natural hair is particularly smooth, you may need to backcomb the bottom of the parting to give the silicone-lined grips more texture to hold on to.

Expert tips for your applying clip-ins in short hair
If you have shorter hair or a super blunt cut, consider curling your hair for a more natural-looking finish. Curls help to integrate the extensions into your hair, creating the illusion of longer, thicker hair that's all your own. We recommend our Lace clip-in sets for thicker hair as the extra volume helps blend in the extensions.
Expert tips for applying clip-ins to thin hair
If you have fine and thin hair, don't worry. We have solutions to help. Our Seamless Set is made from a soft, lightweight silicone track. It blends discreetly with your hair. You can clip the wefts lower down to cover the attachment with more of your natural hair. Another hack is to style your hair and extensions in a curly, wavy, or beach wave style. These styles add volume and help the extensions blend with your natural hair.
How Do You Stop Your Clip-in Extensions From Falling Out
To ensure that your clip-in hair extensions stay in place all day without any mishaps, it's important to take a few steps to provide a secure grip. Follow these simple guidelines to prevent your clip-ins from falling out:
- Tease the roots: Before attaching the extensions, tease the roots of the section where the clips will be placed. This creates a slightly rough texture that provides a better grip for the clips to hold onto.
- Spritz of hairspray: After teasing the roots, lightly spray a bit of hairspray on the section. This will add extra grip and help the clips stay in place more securely.
- Mindful placement: Avoid placing the extensions too close to the edge of your hairline or in areas with less hair density. These spots are more prone to slippage. Instead, attach the clips where there is a stronger layer of hair for a more stable attachment.
How to Remove Clip-in Extensions
Follow these steps to ensure a smooth removal process without causing any damage to your natural hair.
- Prep: Make sure your hair is dry and gently detangled to prevent any unnecessary pulling or tugging. It's also recommended to have a tail comb or a similar tool handy for assistance during the removal process.
- Locate the clips: Identify the location of the extension clips by feeling for them underneath your hair.
- Release the clips: Use your thumb and index finger to gently press and release the clips. Do this for each clip in a slow and controlled manner to avoid any hair breakage.
- Slide out the extension: Once the clips are released, carefully slide the extension out from underneath your natural hair. Take your time and be gentle to prevent any tangling or knotting. Repeat steps 2, 3 and 4 for the remaining wefts.
- Detangle: After removing the extension, thoroughly comb through your hair to remove any tangles that may have occurred during the removal process. Brush through your extensions and safely store them.
By following these steps and taking necessary precautions, you can safely remove clip-in extensions without causing any damage to your natural hair. Remember to be gentle and patient throughout the entire process.
How to Look After Clip-in Hair Extensions
Looking after your clip-in hair extensions is essential to ensure their longevity and maintain their natural appearance. By following a proper care routine, you can ensure that your extensions stay in great shape, allowing you to enjoy beautiful, voluminous locks for longer.
Brushing, To maintain the quality of your clip-in extensions, it's important to brush and detangle them regularly. Start by using a wide-tooth comb or a paddle brush with gentle bristles to remove any knots or tangles. Work your way up from the ends to the roots, being careful not to pull or tug on the hair.
When washing your extensions, it is important to use a sulfate-free and alcohol-free shampoo and conditioner. These products are gentle on the hair and do not strip away its natural oils, keeping it soft and manageable. Additionally, use a heat protection spray before styling with any heated styling tools to safeguard the extensions from heat damage.
After washing, allow the extensions to air dry naturally or use a soft paddle brush to gently remove any excess moisture. Never brush the extensions when wet. Avoid using a hair straightener or any other heat styling tool on wet extensions to prevent damage.
Remove before bed, simple but so important. Remember to never sleep in your clip-in hair extensions. It's not only going to be extremely uncomfortable but can damage both your natural hair and the extensions.
Shop Our Best Selling Clip in Hair Extensions
One Piece Synthetic Hair Extensions
14" Seamless Clip-In Extensions
18" Seamless Clip-In Extensions
16" Lace Clip-In Extensions
20" Lace Clip-In Extensions