
Creating a bun with clip-in extensions
Creating a bun with clip-in extensions
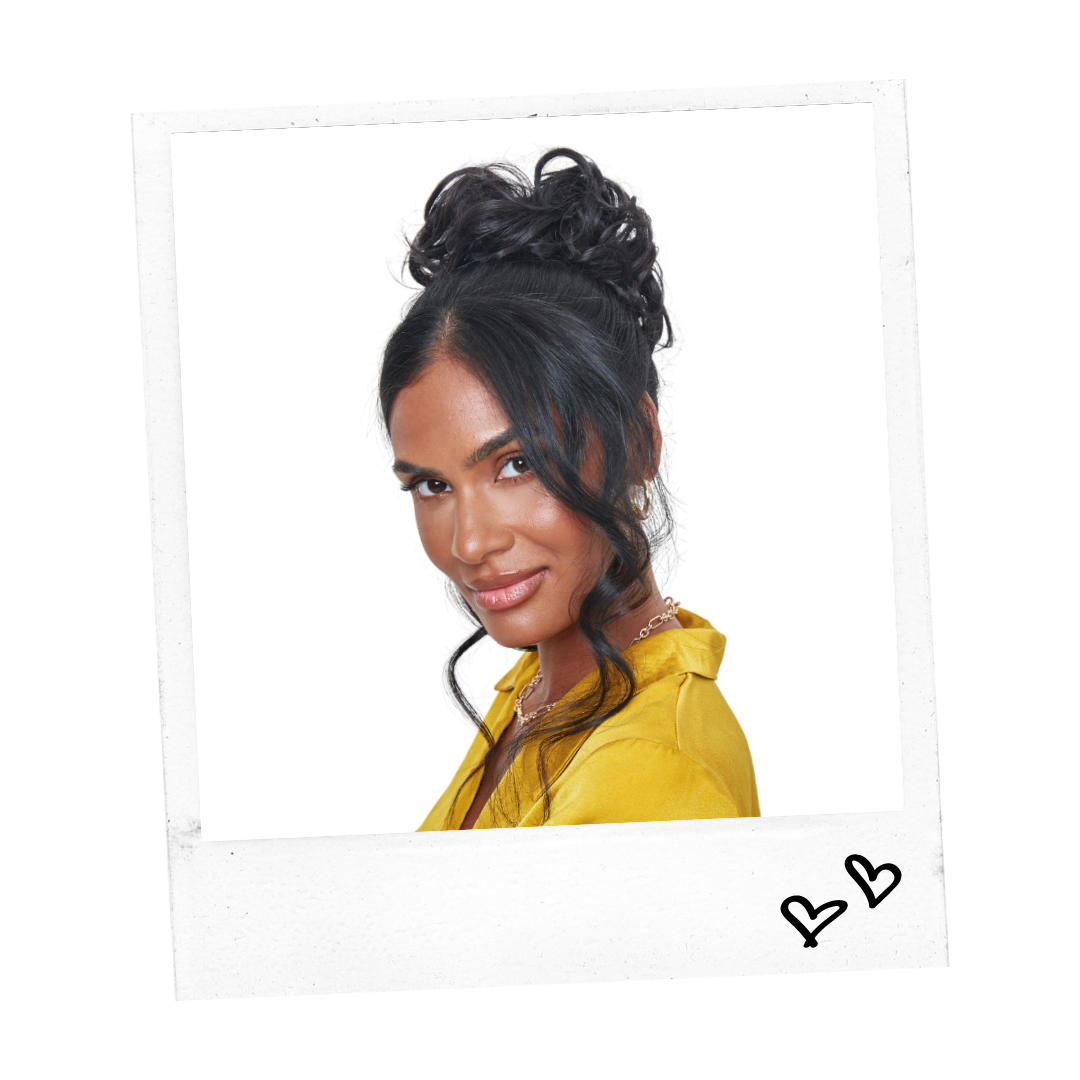
Who doesn’t love a bun? There are so many different ways to wear a bun whether that be the “clean girl” slick back bun or the Pamela Anderson signature messy bun. To achieve these types of buns really isn’t difficult, in fact, they are SO easy and we are going to go through the steps you have to take to achieve your bun of dreams- no need to go to the hair salon.
Keep ReadingUsing hair extensions to create a bun, adds volume and thickness. This can make your bun look more full and you have more hair to work with if you have thin hair. It’s always fun to add extensions because you can leave a bit of hair out to add to the “messy” look or just extra hair to make your sleek bun look extra thick and healthy. A bun is such an easy yet simple hairstyle with hair extensions.
- Clip-in extensions into a Bun
- Hair Extension-Buns
Clip-in extensions into a Bun
If you just want to use your clip-in extensions to create a bun then go no further. To do this use a clip-in weft that either has five clips or three clips. These will give volume and extra thickness but still be hidden.
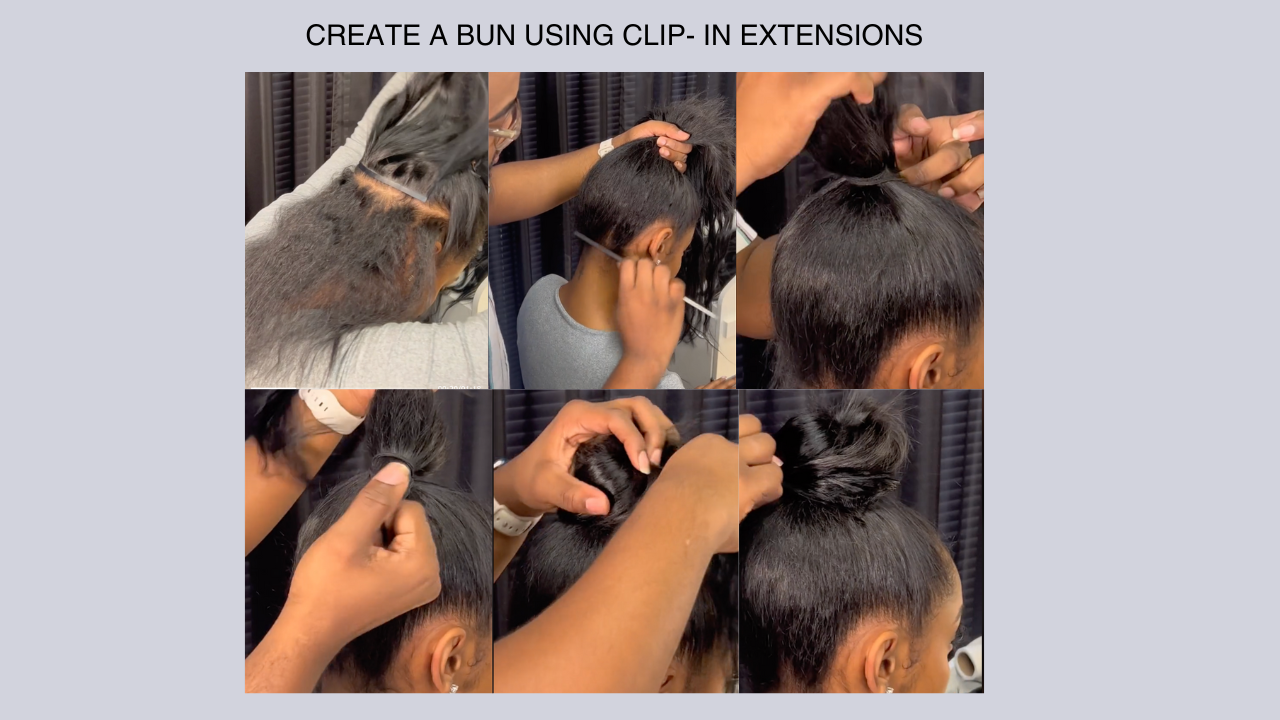
Credit to Cliptbyla
TIP: This is a good option for those who have a thin hair type as the bun extensions pieces don't have much hair to grip too and may not be the best option.
Firstly section your hair. You need to section your hair at the middle point at the back of your head. Once you have created this section take your clip-in weft.
Flip your clip-in weft upside down so that the hair is now flowing upwards instead of in the usual direction, downwards. Clip in your weft to the upper section, leaving the bottom section to flow downwards.
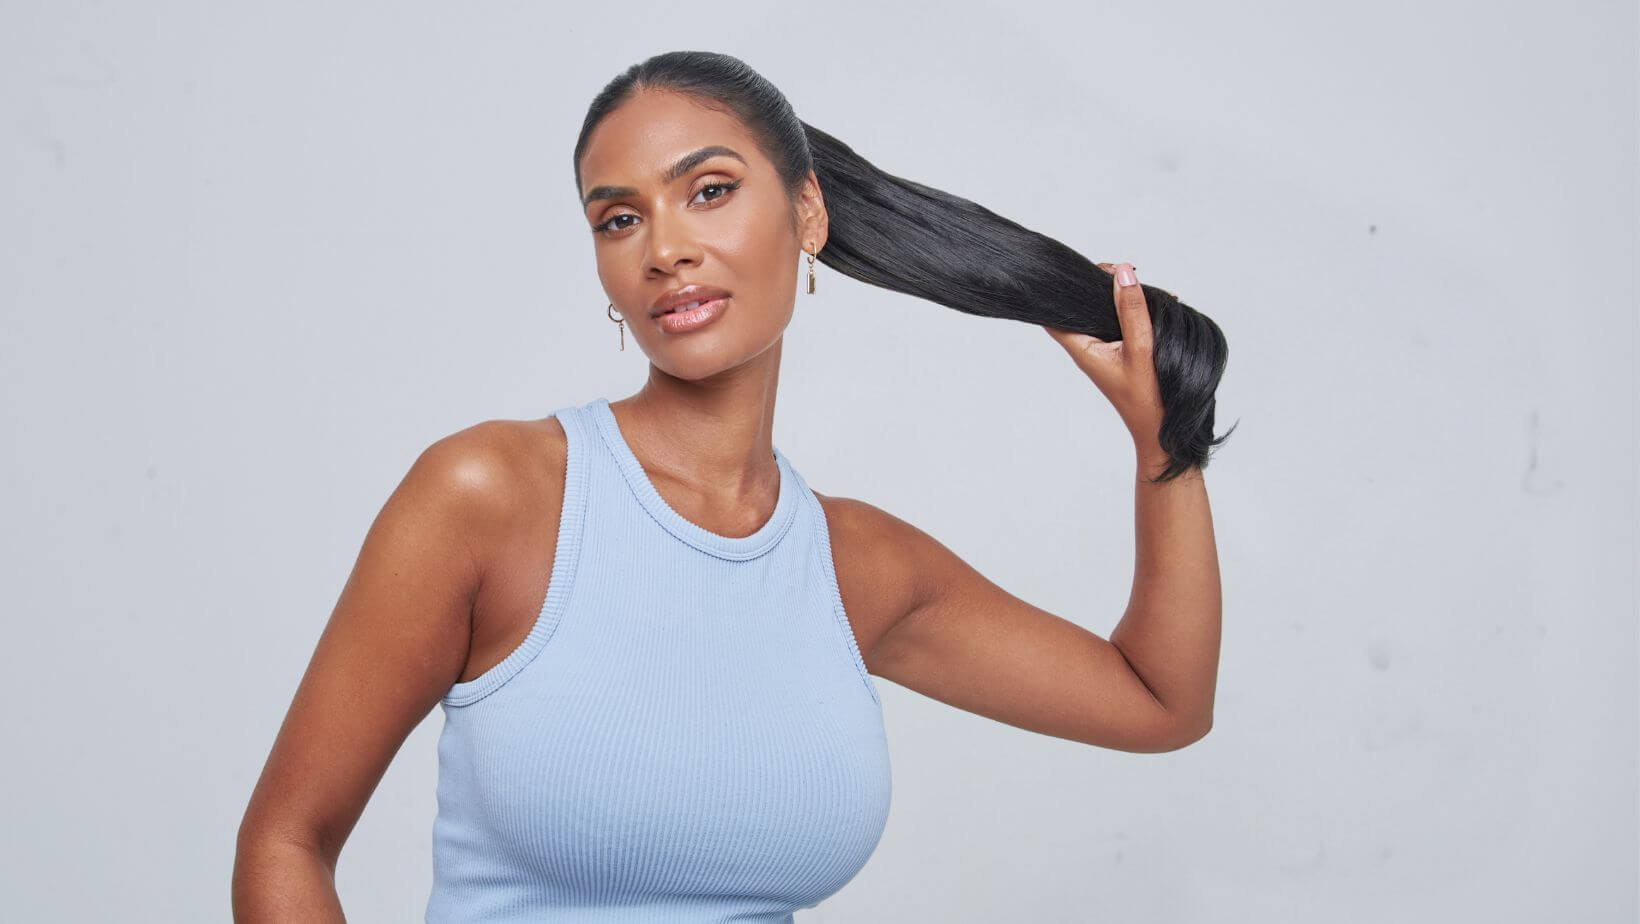
Now that your weft is clipped in you can gather your hair into a ponytail. If you have followed the previous steps correctly then your extensions should flow with your direction of hair perfectly.
Tie your hair into a ponytail and wrap the hair around the base as many times as you can creating a bun. Secure the sides with curby grips to make sure the bun is secure. You can pull gently at the bun to loosen it if you don't want it to be tight.
There you have it. A bun using clip-in extensions. If you do not own clip -in extensions there are other bun extension pieces that you can use as an alternative.
Hair Extension-Buns
If you do not have any clip-in hair extensions or you want a super quick bun method, choosing a bun hair extension piece will be the BEST option for you. There are different types of bun hair extensions that are amazing to use on bad hair days.
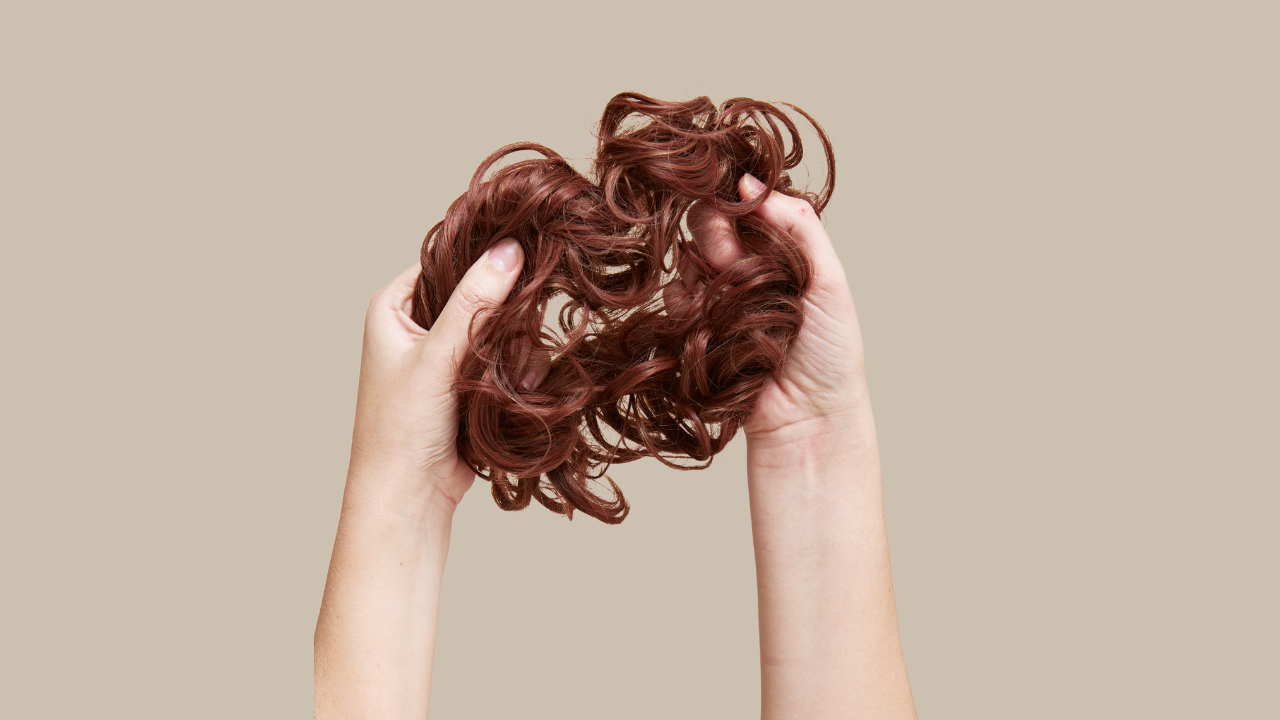
Scrunchie Bun
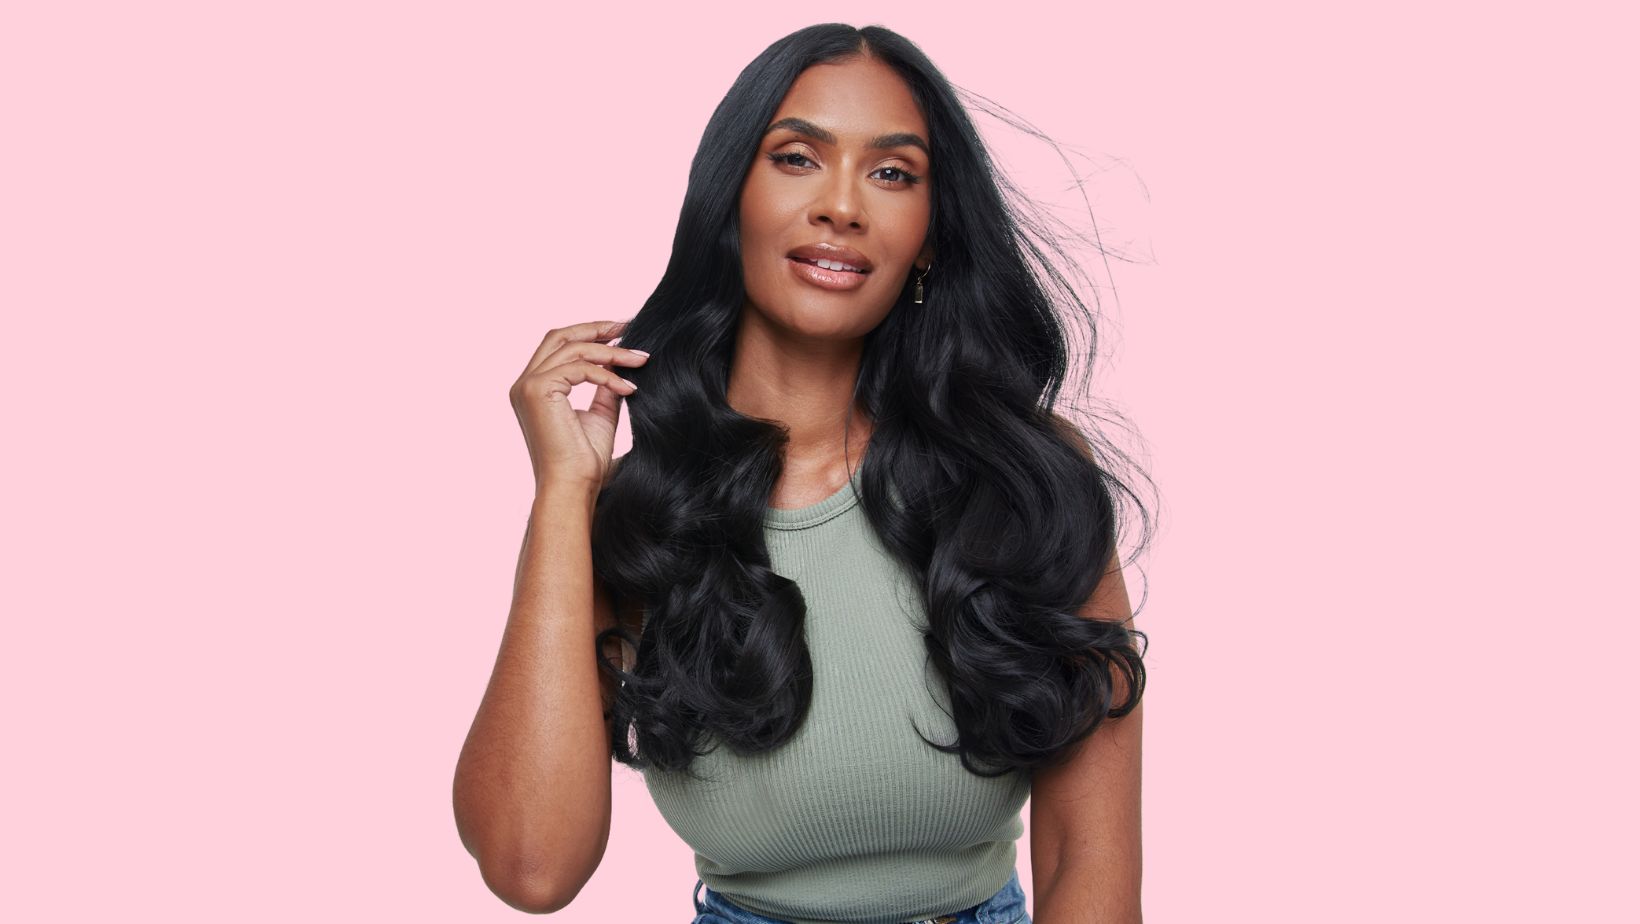
You can have an extension piece that is essentially a scrunchie. The hair is attached to a bobble in the middle. This is a scrunchie bun hair extension. Most of these extension pieces create a messy bun hairstyle. Therefore if you want the iconic Pam Anderson messy hair bun look this is a great option for you to try! How you would apply this extension piece is:
First gather your hair into a compact low, mid or high bun. Leave two pieces of hair out at the front, these will frame your face nicely and make your messy bun look complete. You want your natural hair to be compact so that the extension piece can cover it and also give it a good base to attach to.
Once your natural hair is secured into a compact bun, take the scrunchie extension and place it over your bun. You then tie the scrunchie around your natural hair bun as if you would tie a hair bobble normally. Wrapping it around twice should be enough to secure it to your bun properly. Wrapping it around once will make it too loose and easy to fall off and wrapping it three times may make it too tight and cause strain on your hair and scalp.
Your hair extension scrunchie should now be secured. You can add curby grips to secure the bun down even more if you want extra security. You can also use curby grips to style your bun further. Making some pieces of hair tighter to the base and some looser. This will enhance your messy bun.
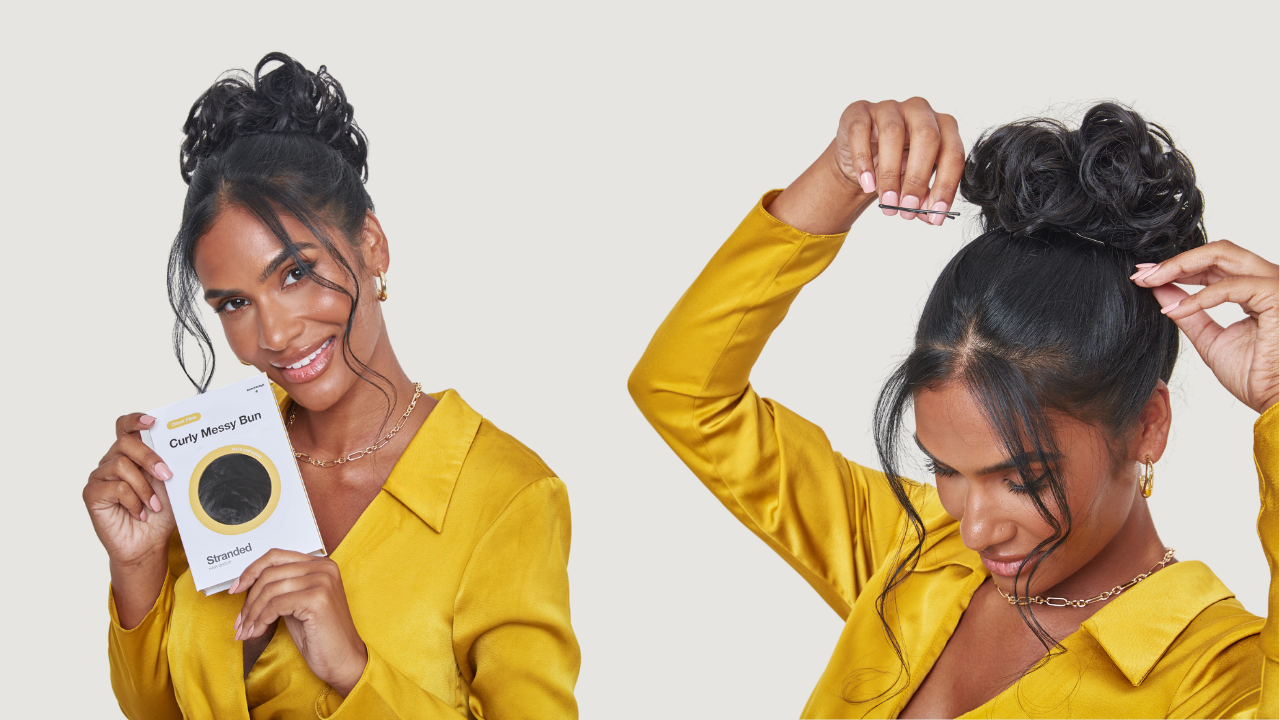
Finally, curl the two sections of hair at the front that you left out. This will pull the whole look together and make your look red carpet-ready.
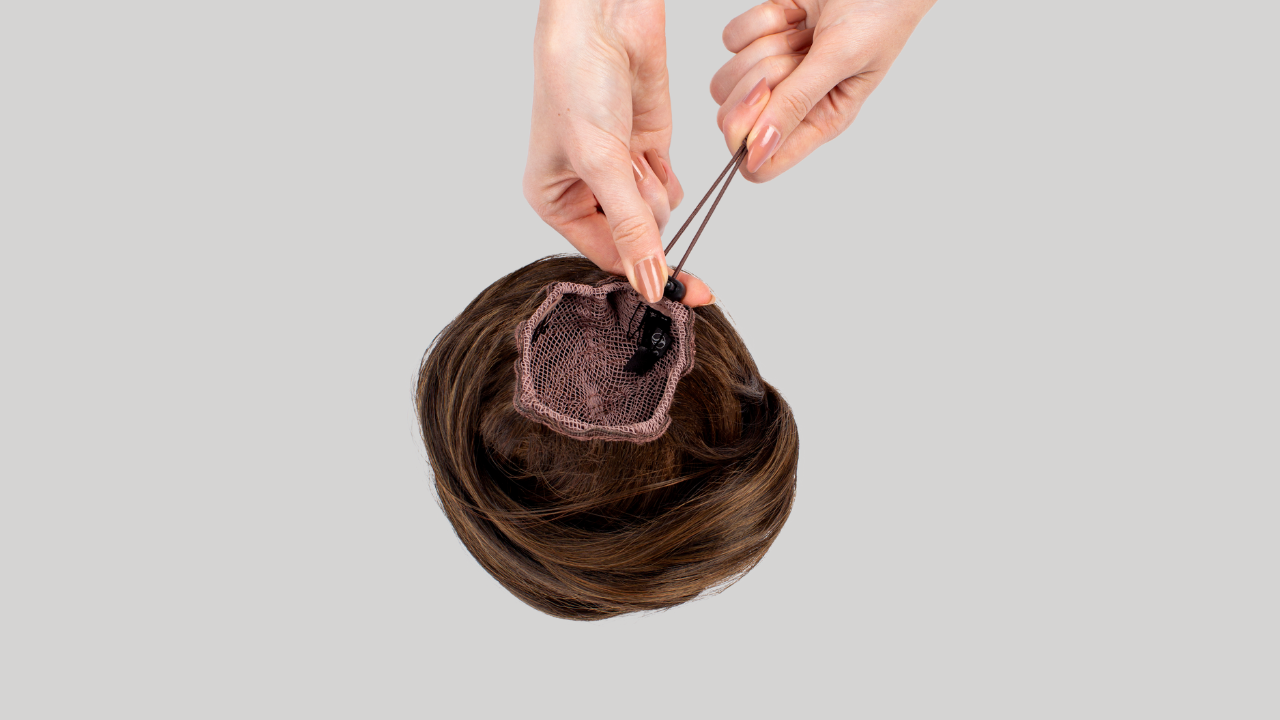
Drawstring Bun
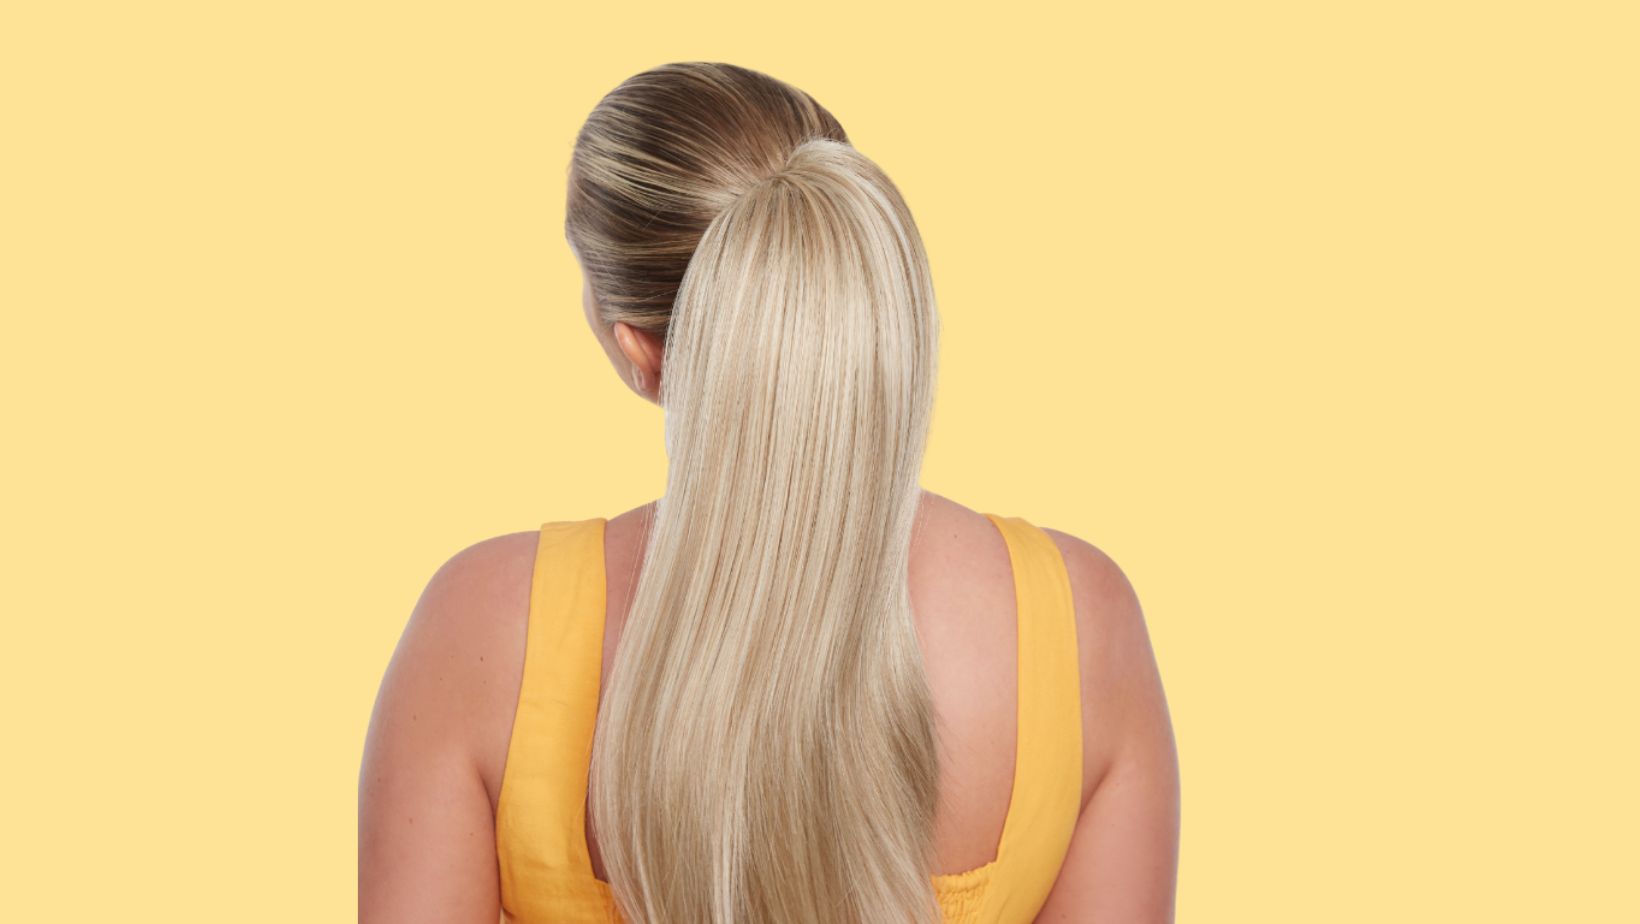
To get the “clean girl aesthetic” opting for a drawstring bun extension piece might be the answer to all your prayers. Due to the slick back nature keep your hair from heat styling and this may be best on day three hair when you have more natural oils in your hair. This helps prevent any strands of hair from becoming loose.
Firstly, gather your hair into a tight compact bun. The more compact the better as it will fit into the bun attachment better. You can leave two front pieces out if you want face framing or slick it all back. Use some hairspray to get rid of any flyaways.
Next, take your extension piece and loosen the drawstring. You now need to place the base of the extension piece over your compact bun and secure it using the two combs that should slide in above and below your bun. When you feel that the slides are in properly you can now tighten the drawstring to secure the extension piece properly. Once you have tightened the drawstring, take the loose bit of elastic and wrap it around the base of your bun, hiding the elastic and securing it with a curby grip.
Now that the extension piece is fully secure, take the hair and wrap it around the base, like you would with a normal bun, until there is no hair left to wrap. Secure this loose end with a curby grip. If you want the bun to be extra secure you can secure it all the way around with extra curby grips.
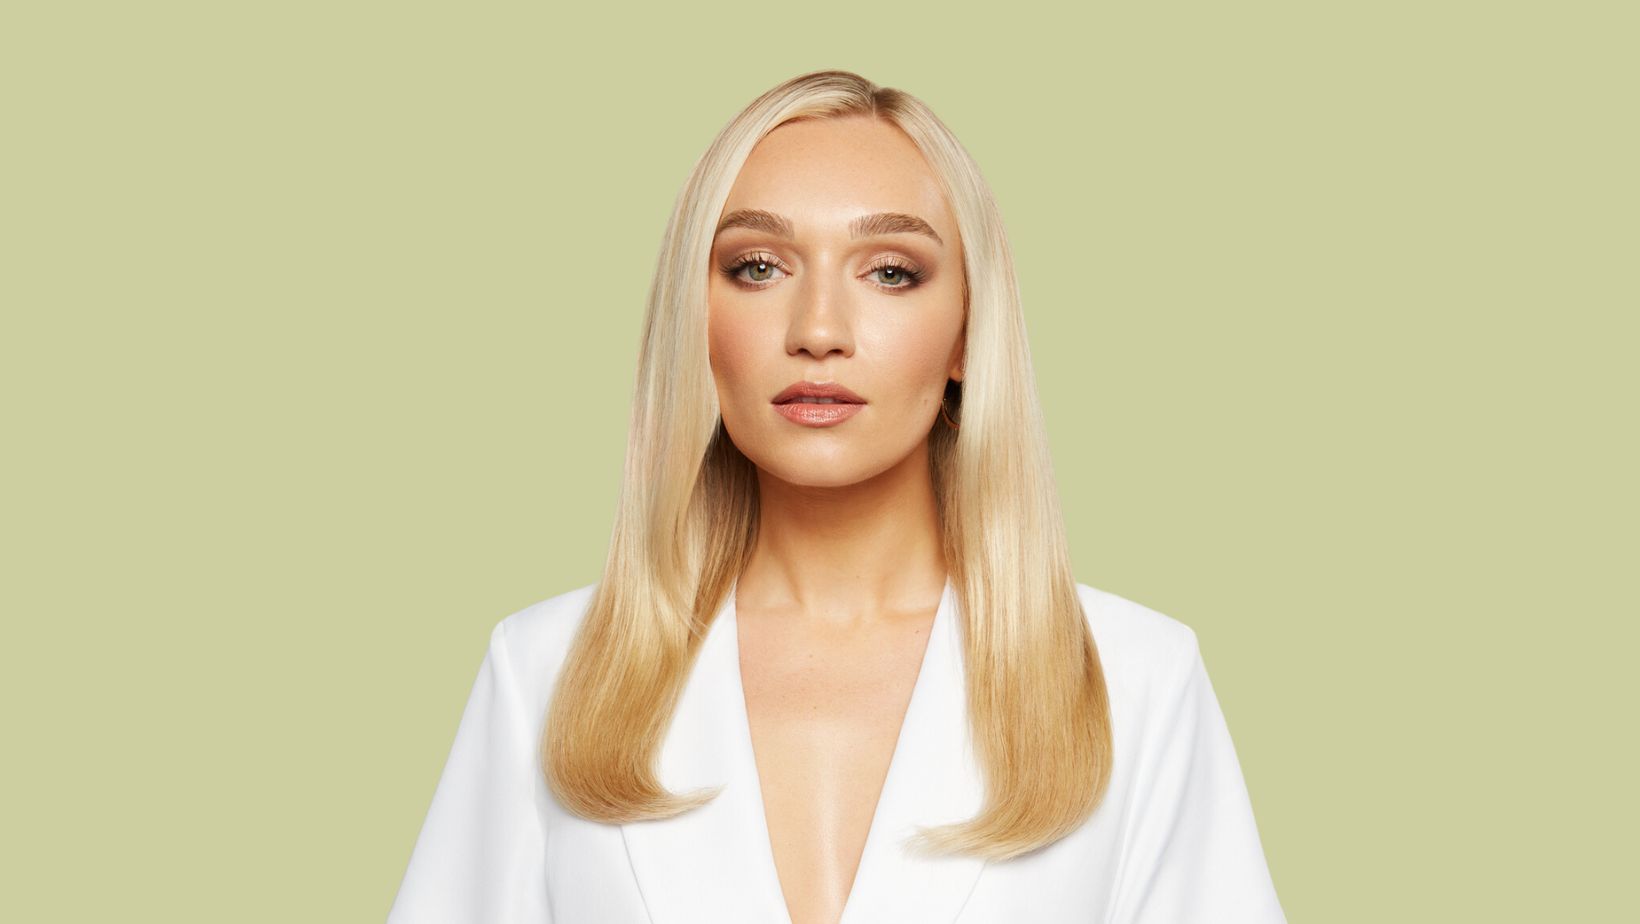
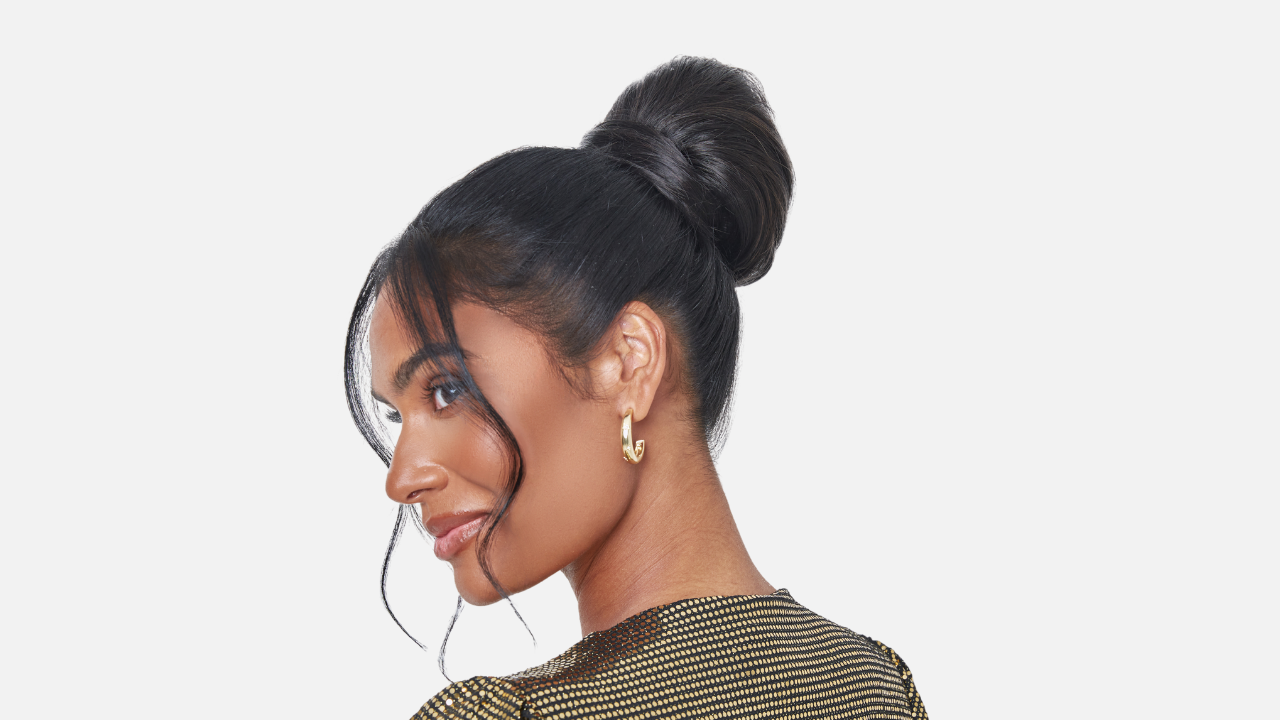
To finish off take some hairspray and smooth away with a comb, any flyaways. You should now have a sleek perfect bun! This is a really nice style to wear for special occasions, it oozes classy vibes.
Found this helpful?
Why not check out some of our other articles? Or if you're a more visual learner, why not look at some of our handy How-To Videos?